Mastering Time Lapse: How to Make Time Lapse Video from Photos

Creating stunning time lapse videos from photos is an exceptional way to capture the beauty of change. Whether you are a professional photographer or an amateur enthusiast, this step-by-step guide aims to provide you with all the necessary insights and tools to make time lapse video from photos effectively and impressively.
The Art of Time Lapse Photography
Before we dive into the practical steps, it’s essential to understand what time lapse photography is. This technique allows you to capture a sequence of images at set intervals, which are then played back at an accelerated rate. The result is a captivating video displaying the passage of time in a few brief seconds or minutes.
Why Choose Time Lapse?
- Showcase Transformation: Time lapse can beautifully capture processes like blooming flowers, cityscapes transforming from day to night, or construction projects.
- Engage Your Audience: A well-crafted time lapse video can draw attention and keep viewers engaged.
- Highlight Your Skills: If you are a photographer, exhibiting your ability to create compelling time lapse videos can set you apart in your field.
Choosing the Right Equipment
To make time lapse video from photos, you need the right tools. Here’s what you will need:
1. Camera
Your camera plays a critical role in capturing high-quality images. While DSLRs and mirrorless cameras are popular choices, smartphone cameras with advanced features can also get the job done. Here are some features to consider:
- Manual Mode: Allows you to control exposure settings.
- Quality Lens: Invest in a quality lens suited to your subject.
- Intervalometer: An essential tool for setting intervals for shots automatically.
2. Tripod
Stability is key in time lapse photography. A sturdy tripod will help you maintain consistent framing throughout your series of shots.
3. Lighting Equipment
Proper lighting can make or break your time lapse video. Consider using additional lighting sources, especially if shooting indoors or during difficult lighting conditions.
Planning Your Time Lapse Project
With your equipment ready, it’s time to plan your project. Proper planning can enhance the quality of your final video.
1. Choose Your Subject Wisely
Consider selecting a subject that shows clear movement over time. Some excellent subjects include:
- Crowded locations like markets or festivals.
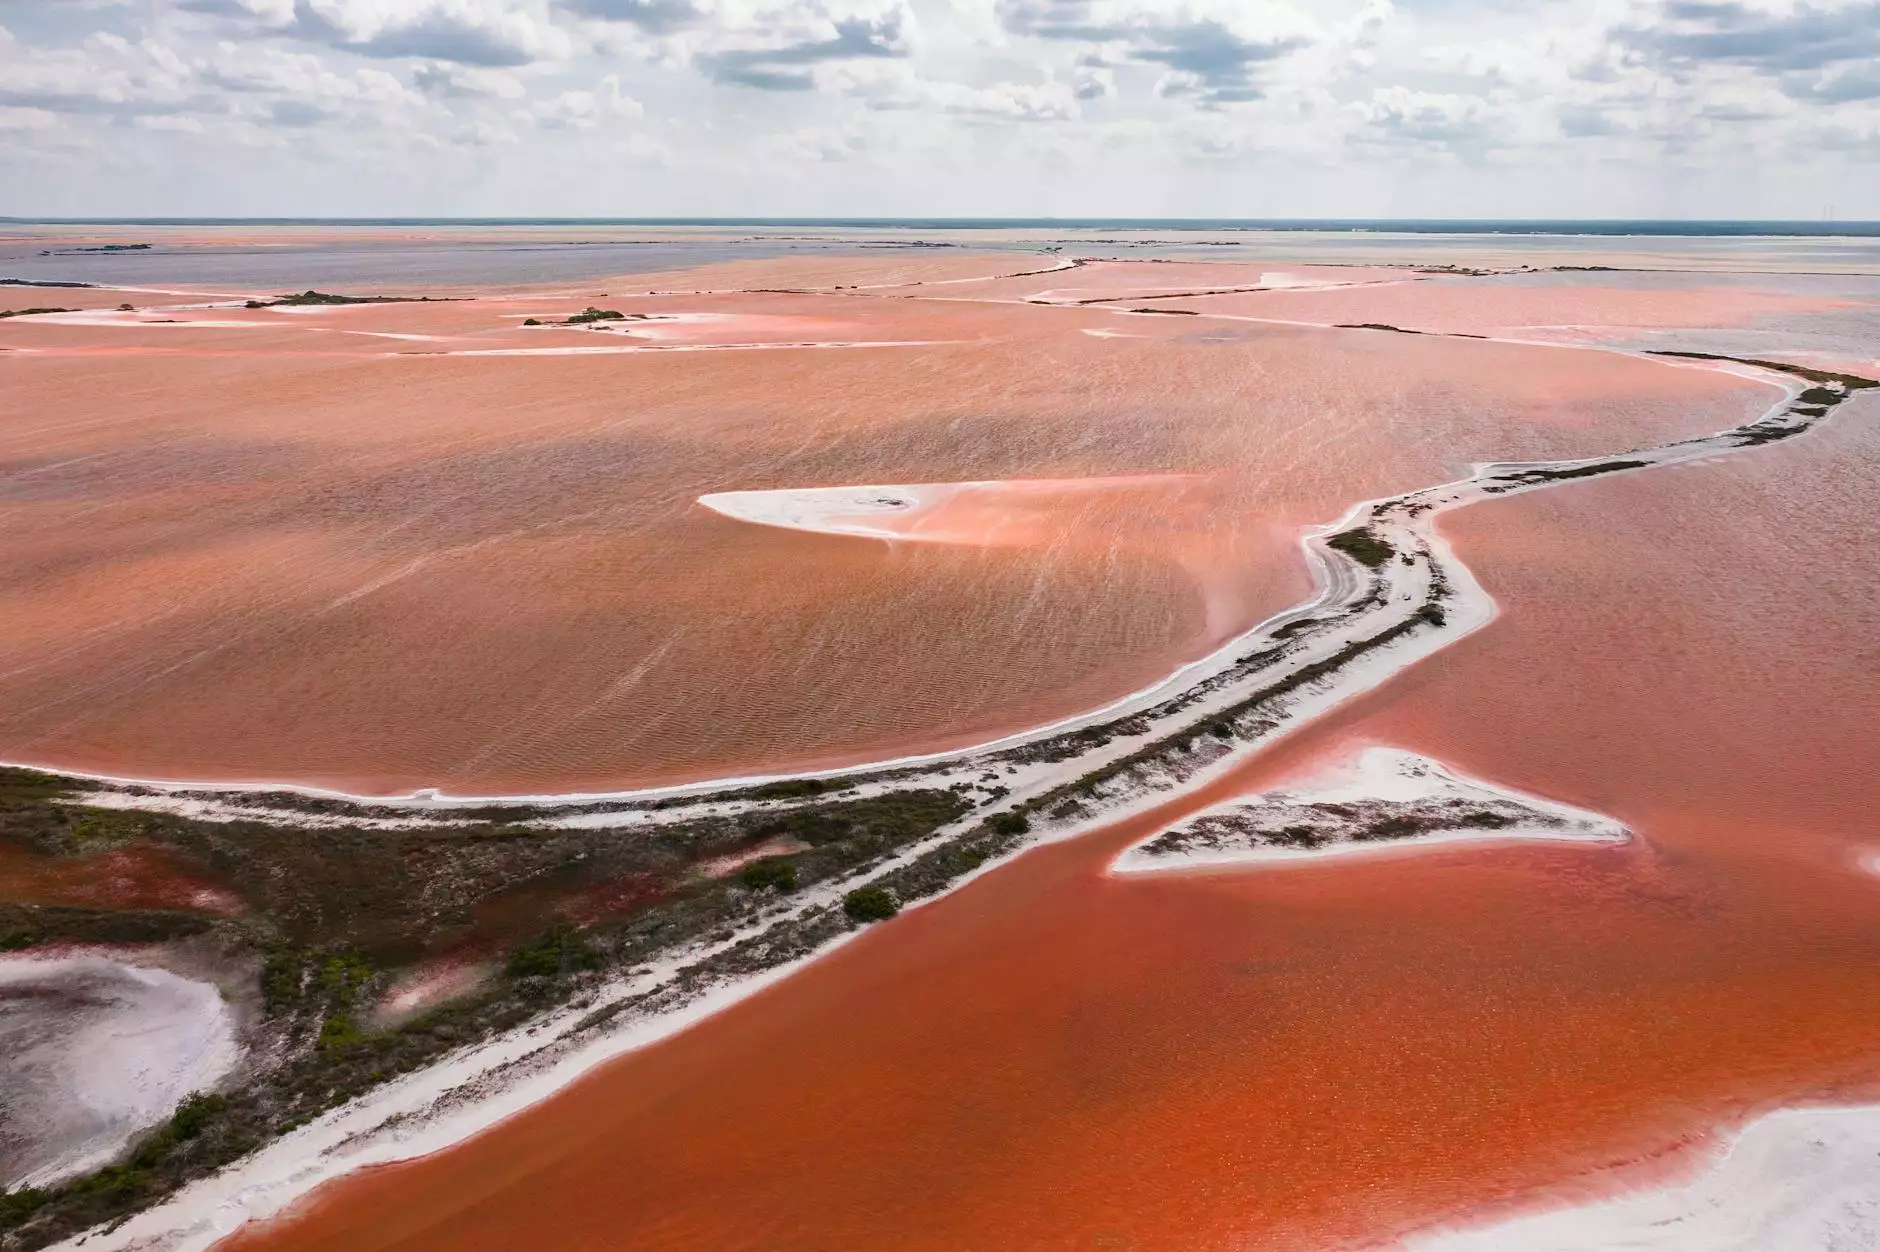
- Natural phenomena, such as sunsets or star trails.
- Construction sites or other time-consuming projects.
2. Determine the Duration
Estimate how long the event will last. This will guide you in selecting shooting intervals and total number of frames needed. Rule of thumb: Plan for around 10 frames per second for the final video; if your video duration is 30 seconds, you will need about 300 frames.
3. Establish the Shooting Interval
The interval between shots is crucial. A shorter interval captures rapid movements, while a longer interval captures slower changes. For example, 1-3 seconds may be suitable for blooming flowers, while 15-30 seconds is ideal for shifting clouds.
Shooting the Time Lapse
Now it’s time for the fun part: shooting! Here are some essential tips to keep in mind:
1. Set Up Your Camera
Find a good vantage point and set your camera on a tripod. Ensure that it is stable and secured. Double-check for any potential obstructions that could alter your shot.
2. Configure Camera Settings
Adjust your camera settings to manual mode for the best control over exposure. Set your aperture, ISO, and shutter speed to obtain clear and consistent images. Additionally, consider using a remote shutter release or your camera’s timer function to avoid any movement while shooting.
3. Monitor Your Battery Life
Long shoots require considerable battery power. Make sure you have sufficient battery life and storage space for your shoot. Carry backups wherever possible.
Making the Time Lapse Video from Photos
Once you have completed your shooting session, it’s time to assemble your images into a cohesive video. Here's how:
1. Organize Your Photos
Import the images into your computer and organize them in sequential order. This makes your editing process seamless.
2. Choose Editing Software
There are many software options available to create time lapse videos from photos. Some popular choices include:
- Adobe Premiere Pro: A professional-grade editing software.
- Final Cut Pro: Suitable for Mac users and provides advanced features.
- iMovie: A user-friendly option for beginners.
- Windows Movie Maker: Great for those using Windows trying simple editing tasks.
- Free Online Tools: Websites like Kapwing or Animaker for quick solutions.
3. Import Images into Your Editing Software
Load your images into your chosen software. Adjust the frame rate to determine how fast the photos will transition in the final video.
4. Export Your Video
Finally, export your time lapse video in a suitable format (typically MP4 for web use) after adding any tweaks like background music or transitions.
Optimizing Your Time Lapse Videos
Once your time lapse video is created, think about how to effectively share it. Optimization can help you reach a broader audience:
1. Select an Engaging Thumbnail
A visually appealing thumbnail can significantly increase your click-through rates.
2. Optimize Video Titles and Tags
Incorporate relevant keywords, including our focus keyword make time lapse video from photos in both the title and description.
3. Share on Multiple Platforms
Utilize social media platforms, your business website, and video-sharing sites to expand your reach.
Conclusion
Time lapse photography is a rewarding and fascinating art form that can elevate your photographic portfolio and engage your audience. By understanding how to make time lapse video from photos, you can showcase the beauty of time and transformation. Remember, practice makes perfect, so get out there and start capturing stunning sequences! At bonomotion.com, we celebrate creativity and passion in photography. Explore our services to enhance your photographic journey.